Cathy’s Guide To Monoprinting
Monoprints by Cathy Mills
What Is Monoprinting?

Lucy Lidell and her monoprints
Monoprints are very similar to drawings or paintings but the drawing or mark is usually made on a plate. (In this case a sheet of perspex).
This plate is then printed from.
A sheet of paper is placed onto the plate and it is then either run through a press or pressure is applied by hand.
This produces a monoprint.
You can make another reprint from the same plate, called a ghost print.
This is interesting as it is much more subtle.
Many layers can then be added onto the initial print.
Beginning to monoprint
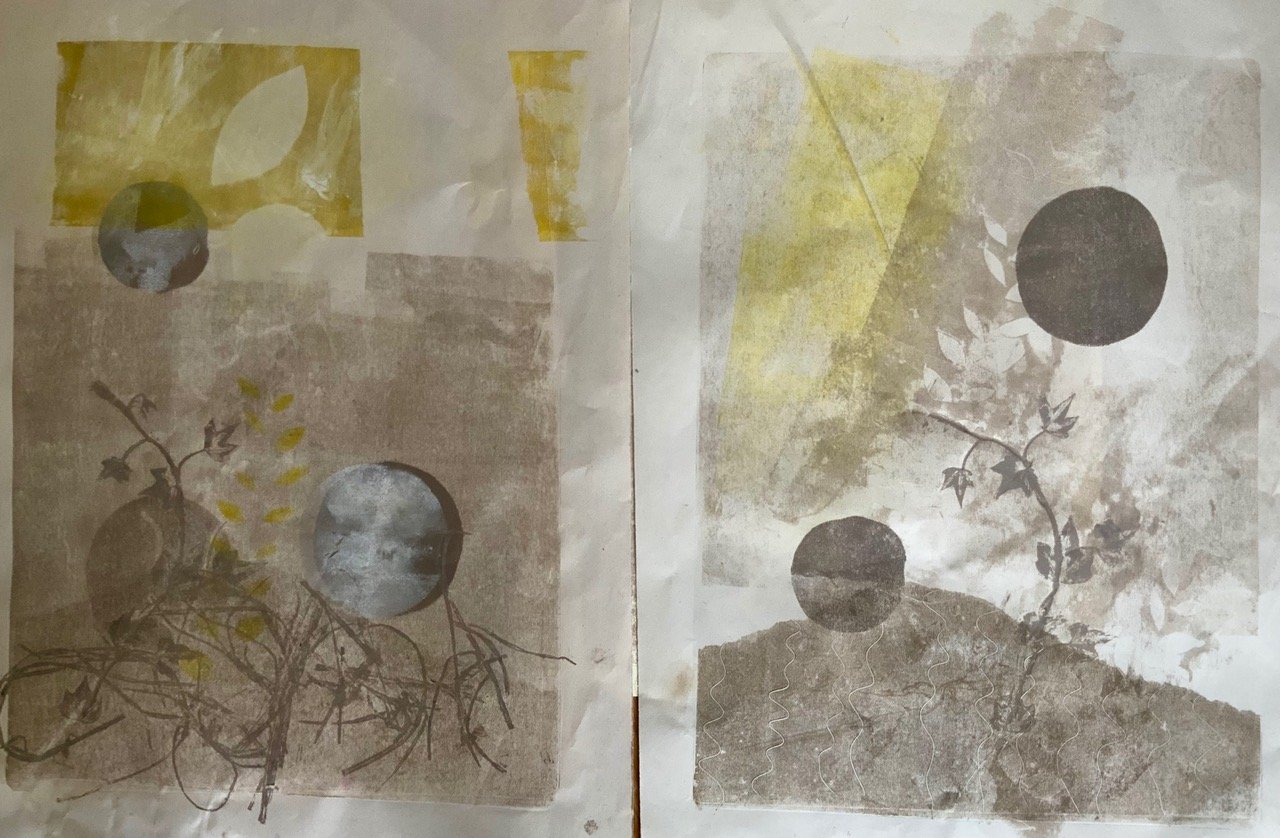
To begin with, I suggest using one colour and exploring tones of that colour.
We used burnt umber mixed with white and extender to make three or four shades.
Think of layers and the palest layer needs to go on first.


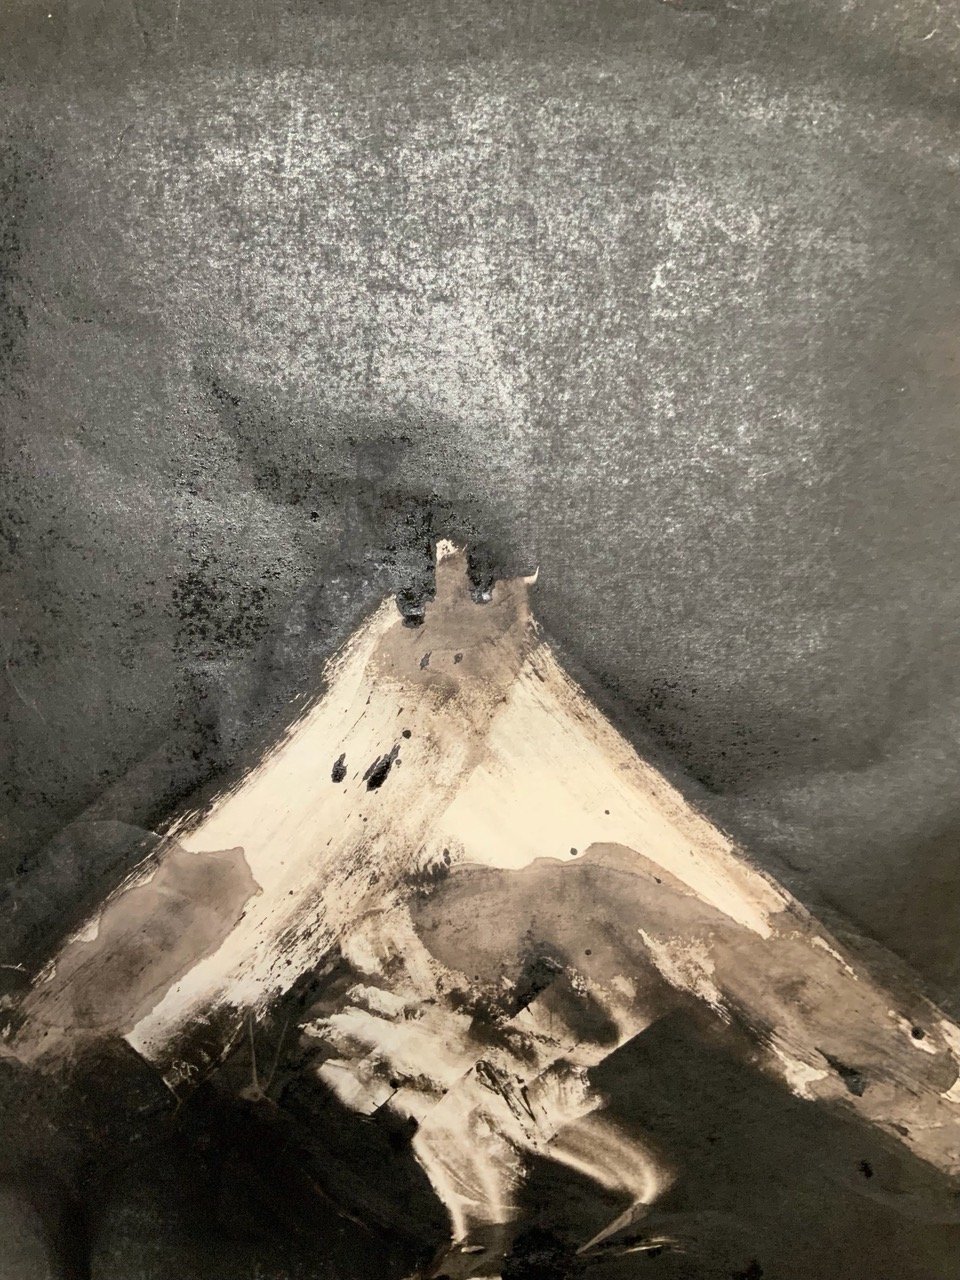
Using shapes torn from newsprint as stencils for your layers is very effective and creates lovely soft lines. This can be very evocative of mountains in a landscape. You can also use many other ways of making stencils with shapes cut out of acetate or paper…
Registration
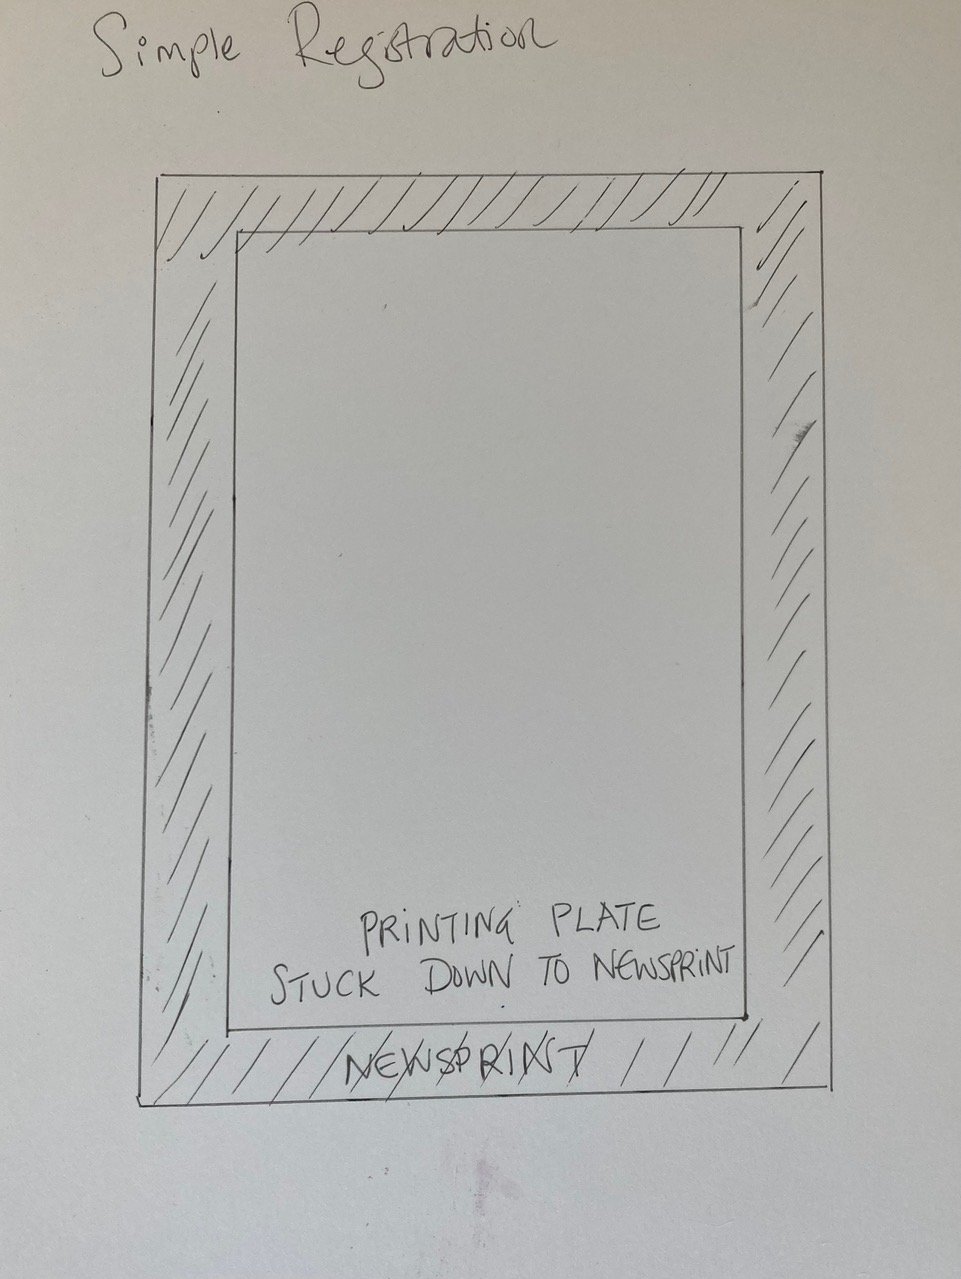
In this diagram, the newsprint is the same size as the printing paper.
I have used a very simple method to register prints. The reason for registration is so that if you are making more than one layer on your print, you can make sure images are falling onto each other at the points you want them to.
Simply place your printing board onto a piece of paper that is slightly larger than the printing board/ plate and exactly the same size as your printing paper. You need to tear or cut all your paper before your printing session.
(If you want to downsize, this is also easy).
Make sure it doesn’t slip. I put some masking tape between the two.
Then, when you come to print, just mark the centre of the top of the paper that is underneath and the centre of the top of the back of your printing paper and then match them to each other when you are printing.
Materials
Inks
We are using Caligo Safe wash relief inks made by Cranfield. I include the Safe wash oil and Extender.
Rollers etc
Cheapish rollers from Speedball. (You can also buy good quality cheap rollers from Cass Arts in Bristol).
I also use bamboo barrens for applying printing pressure. These are £3.50 from Handprinted:
handprinted.co.uk/collections/barens/products/bamboo-baren
Boards
The boards for rolling out and printing on are recycled plastic sheets from the Scrapstore in St Werbergs, Bristol.
Paper
Newsprint is ideal for trials and for printing but it does go slightly yellow over time.
Any thinnish paper is good.
We have ben using Simili, from John Purcell in London, and Zercoll (100 grammes). There are many other options.
You can also monoprint with any inks or paints, including watercolours, so no need to go and buy special inks.
I use the safe wash inks especially for teaching as they work well. They don’t dry too fast and are cleanable.
Colour
Colour is a huge and amazing subject. The reason I suggest beginning with tones of just one or two colours, or just black, is to get used to the process and the idea of tone. You can get so much feeling in a print with using tones from light to dark of one colour. This is then a great way to progress into using colours.
When trying out colours and mixing colours, always do a test on another piece of paper so you can see how colours look on top of each other where they overlap, and how they look on the paper you’re using.
To do this, take a thin bead of your ink onto the end of a palette knit and scrape it as thin as possible in a stripe onto the paper. You can do a few of these and then experiment with layering other tones or colours on top of this.
Make a note of these and how you mixed the colours. eg approx 1/3 red to 1/3 white to 1/3 extender. In this way, you can reproduce the colour later on if needed, and when you come to print, you will get the colour ranges you like. Overlapping colours can so easily turn out really grungy and not what you wanted!
Methods
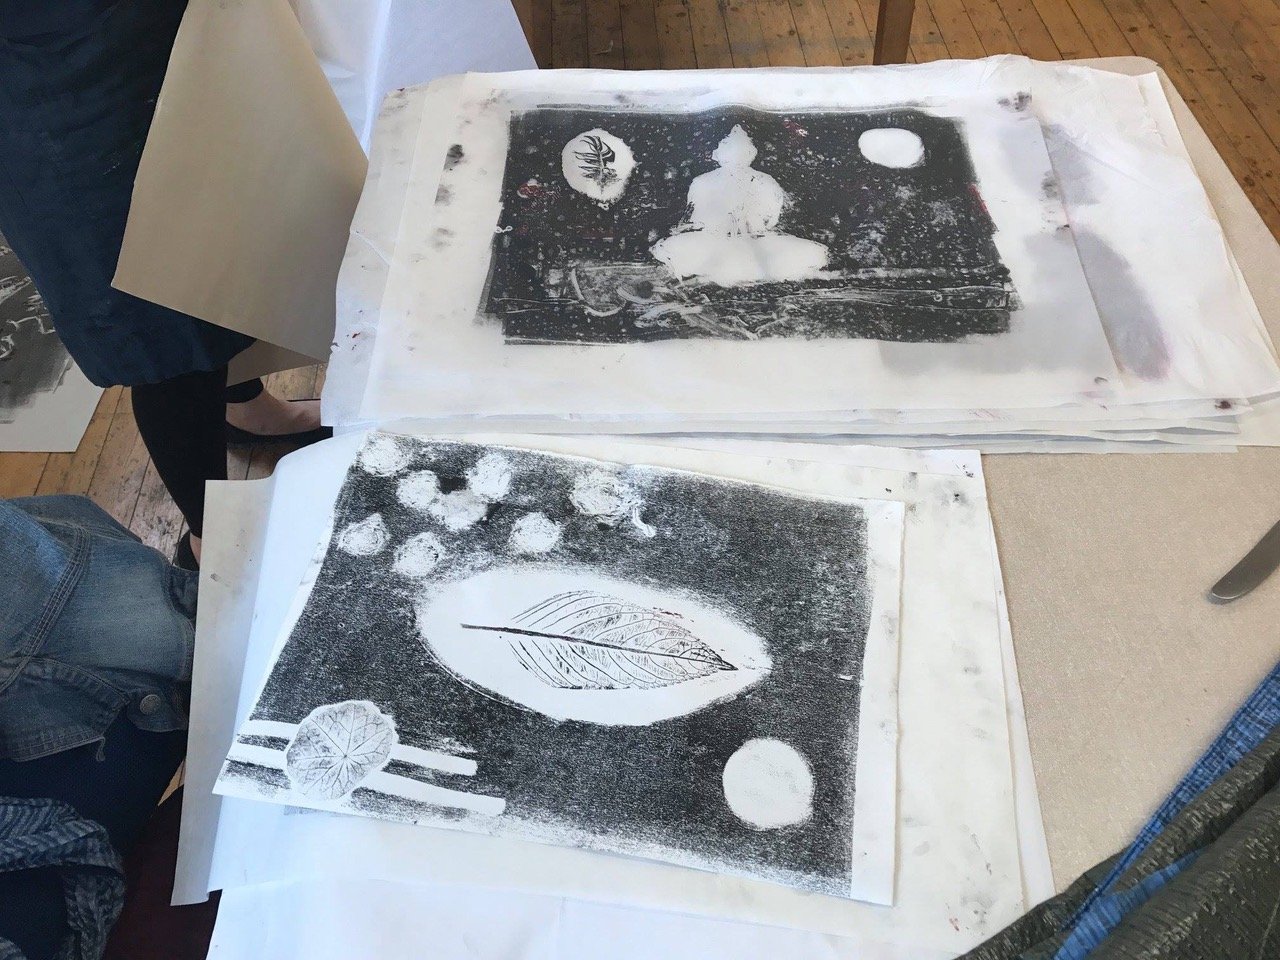
Transferring marks from other materials
Many materials can be inked up and then their image transferred onto your printing paper via hand or roller pressure.
eg Corrugated cardboard, aluminium foil, paper doilies, leaves, ferns, feathers and threads.
Prepare your printing paper which can be blank or have the layers/ images already there.
Take a pice of crumpled foil, a feather, cloth or anything you fancy that is fairly flat.
Roll out some ink on the inking board.
Lay the object down on a clean area of board and roll over it with a full inked up roller. Do this several times until the foil is covered.
Lay the foil down, inkside down, onto your print, wherever you want it.
Lay a piece of newsprint over the top and apply pressure with either a roller or your hands or the barren.

Monoprint by Carola Becker. She has inked up bracken leaves.

Monoprint by Cathy Mills.
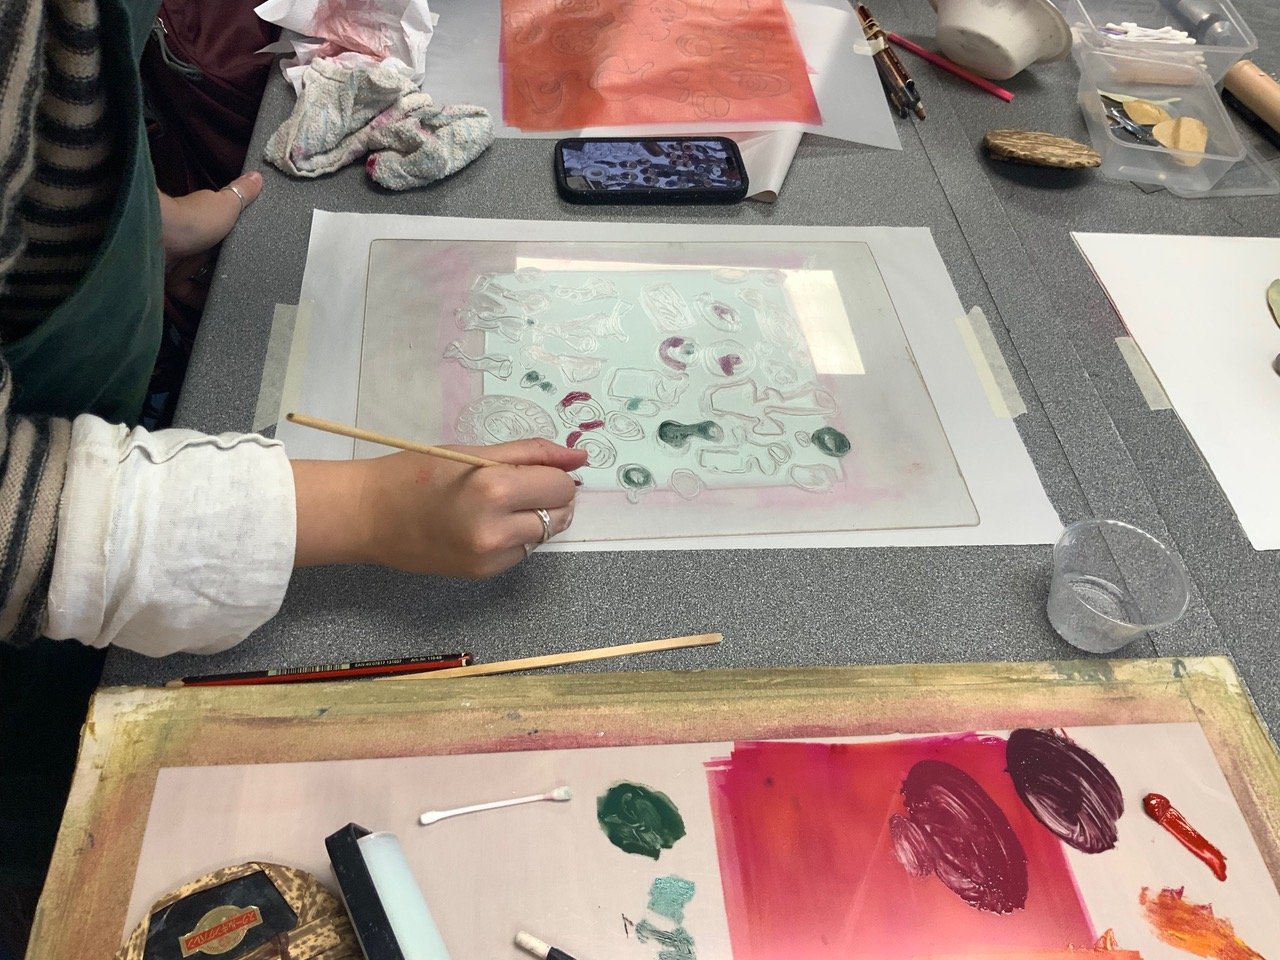
Reductive method
The reductive approach is essentially removing light tones from a solid ink film.
Start by rolling a layer of ink onto your printing board. Remove ink to develop your image.
You can use cloths or cotton buds or a paintbrush dipped in water or anything that can take the ink away.
The addition of water to a brush can make some interesting marks as the water partially dissolves the ink.
With clear plastic plates as we are using, a guide can be drawn directly on the back of the plate or on papa underneath the plate. If you then add extender to your ink, this will help you see the guide through the ink.
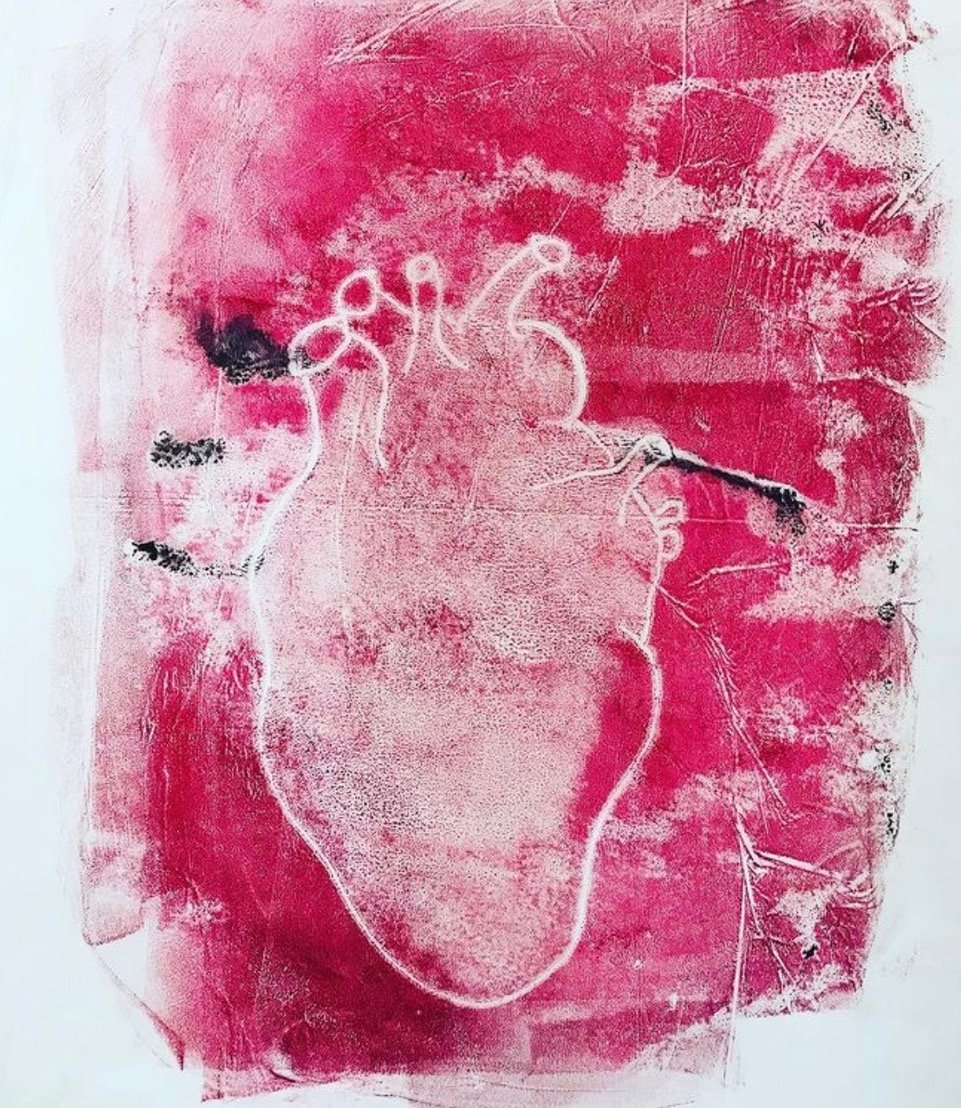
Monoprint by Cathy Mills

Monoprint by Cathy Mills
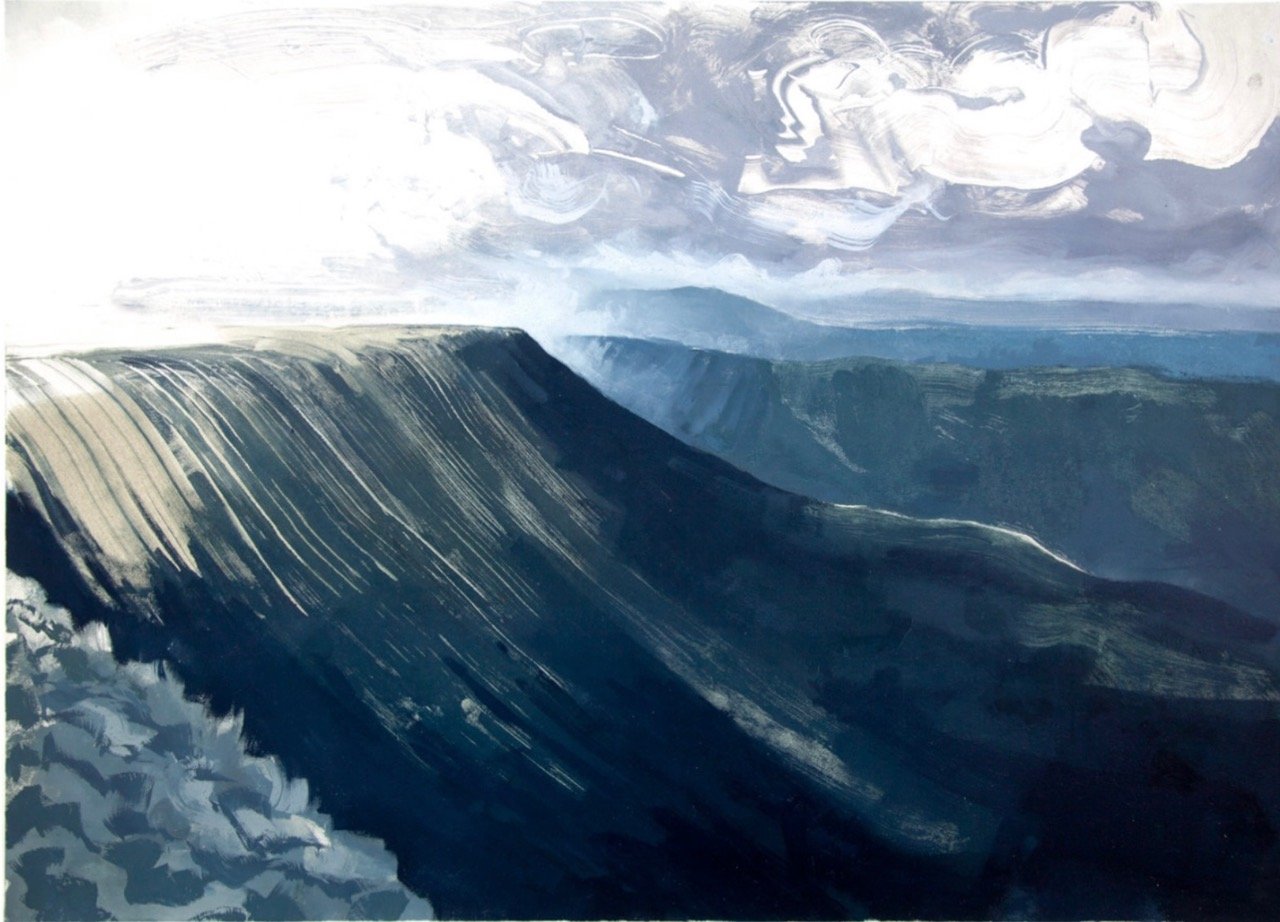
The print below, Brecon Beacons 1, is by Andy Lovell and he has made great use of the reductive method, taking away inks and layering with colours too.
Trace monotypes
This is another method for making marks that’s very good for lines especially.
This can be a negative or a positive line.
Roll up the printing board/ plate with a thin layer of ink.
Gently lay a piece of printing paper directly onto the ink film using the registration method mentioned.
Lay a piece of newsprint onto it.
Be careful when laying the paper, as any pressure will offset ink.
Draw on the newsprint with sufficient pressure to press the print paper onto the ink film. Different tools and varied pressure will create different tonal variations.
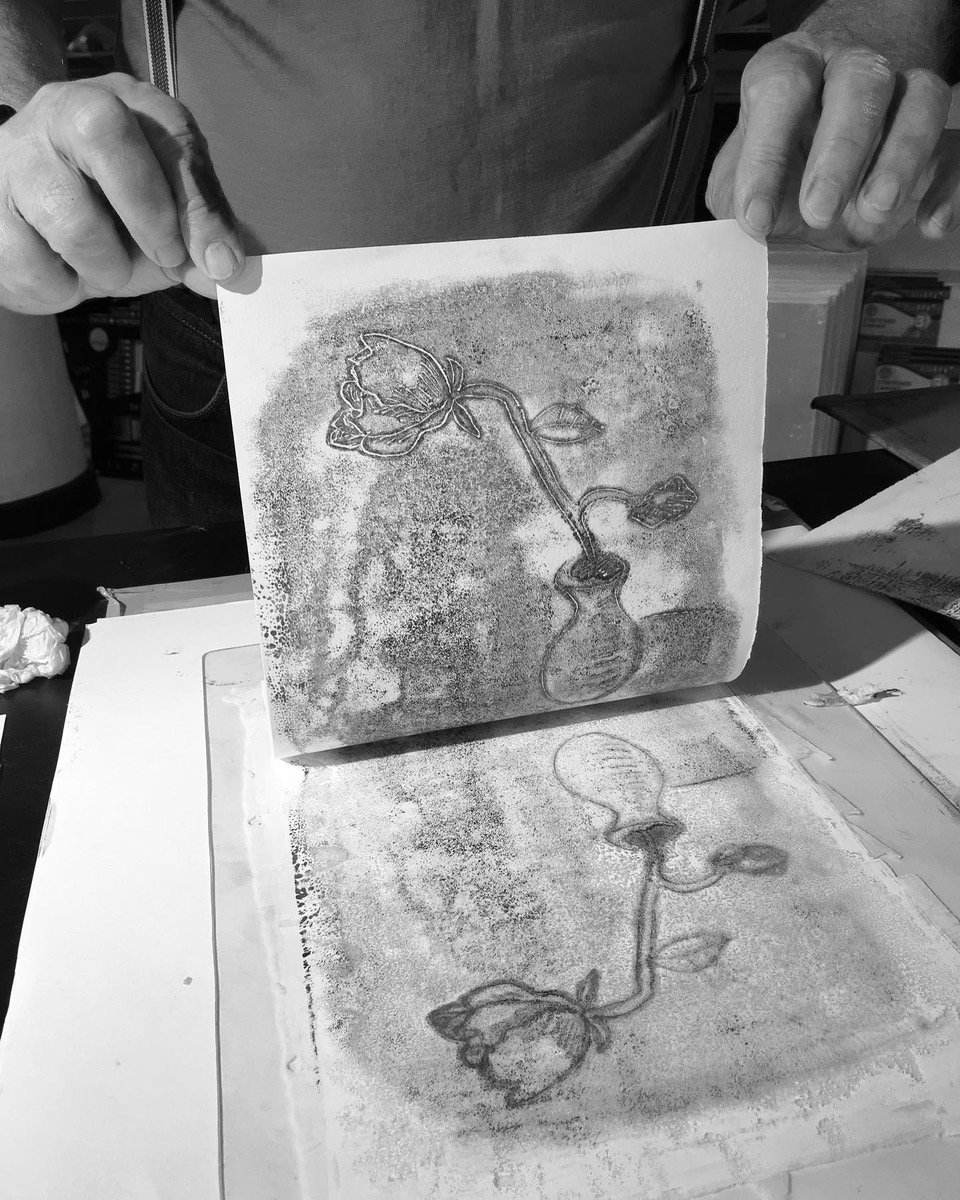
Once the image is complete, you can then go on to print again from the plate which will now have a negative version of your image.
These images show the negative version.
Monoprint by Cathy Mills
Monoprint by Geoffrey Andrews
Making use of a roller is another expressive way of making marks. Monoprinting can be another way of painting. The print below is by Barbara Hegarty. She has first rolled out and printed a layer of green and then made direct marks with a roller on top of that. The roller is filled with darker brown.

Monoprint by Barbara Hegarty
In the monoprint below, by Marilyn Dintenfass, she has worked with shaped plates made of thin plastic, and thicker pieces have linear information carved into the surface which can be inked intaglio.

Monoprint by Marilyn Dintenfass
There are countless ways to make marks and to layer imagery and colour with monoprinting. For me, it is a playful approach to image making and I think if a lightness of touch and an openminded approach is there, then it’s a fulfilling and expressive practice. There will be many mistakes along the way but often they can be, surprisingly, the best things…
Copyright 2023 Cathy Mills